Your roof is one of the biggest investments you’ll funnel money into—and for good reason. A roof plays an important role in protecting your home from the weather’s nastiest conditions. To properly protect, each component of your roof needs to be functioning and well-maintained. One of these is roof flashing.
The reality is that poorly installed flashing creates a domino effect of issues from leaks and interior damage to structural instability. The more you know about your roof flashing, the better—and Adam Vaillancourt Roofing & Gutters is here to help break it all down.
What is Roof Flashing?
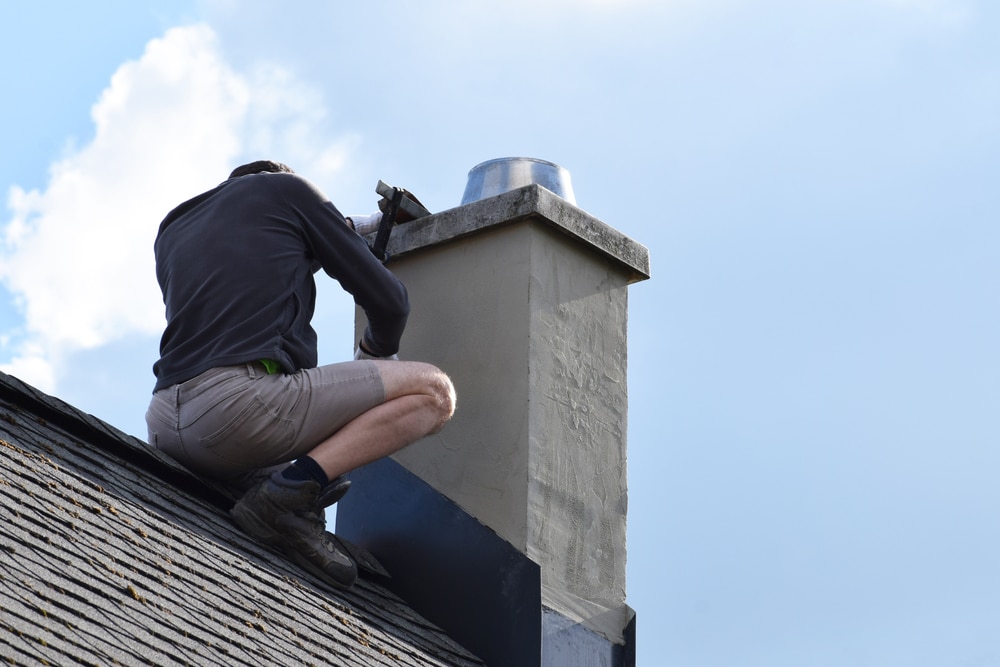
Roof flashing is a metal layer of material that prevents water from leaking into your home. Roof flashing is typically installed around openings like skylights, vents, and chimneys.
Think of your flashing as a water-tight seal that keeps water where it should be. If your roof’s flashing isn’t properly installed, the chances of water infiltration become much higher and can lead to a host of water-related damages.
Why is Roof Flashing Important?
The last thing you want in your home is water damage. That’s why flashing is so important. Properly installed roof flashing keeps the roof’s seams, edges, and joints free of rainwater exposure. Not only does this keep your home dry, but your roof’s lifespan is going to see a noticeable improvement as well.
The best way to keep your flashing in its best condition is through routine maintenance and inspections. A professional can identify issues early on and take action before the problems worsen.
Types of Roof Flashing
There are various roof flashing types for residential properties. Each type has its own purpose, best uses, and pros and cons. Let’s take a look at different types of roof flashing and how they vary.
Step Flashing
Primarily used against the sides of walls and chimneys, step flashing is a bent and rectangular piece of metal that protects joints. It’s common for more flashing to be installed on top of the step flashing for the best protection in vulnerable areas like the crease between the roof and vertical protrusion.
Continuous Flashing (or Apron Flashing)
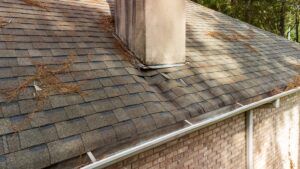
Continuous flashing, or apron flashing, is shaped like an L and is commonly used around chimneys. This type of flashing creates a water-tight barrier and is excellent for preventing structural damage, moisture issues, and mold. For proper fitting, continuous flashing can be up to 14 feet long.
The main limitation of this flashing type is once a section becomes damaged, the flashing as a whole doesn’t hold up well against leaks and temperature fluctuations.
Valley Flashing
Valley flashing is often made up of a wide sheet of metal that sits beneath the roof’s shingles. It is installed in the valleys where the roof slopes meet. Valley flashing is especially important because it channels water down the roof and away from the home, preventing the chance of water damage.
Drip Edge Flashing
The installation of drip edge flashing is specially designed to direct water away from the fascia and into the gutters. Used around rakes, eaves, and gables, drip edge flashing prevents water from seeping under the roofing material near its edges.
Counter Flashing
Counter flashing is a type of flashing commonly installed to prevent water from seeping behind the headwall and sidewall. Counter flashing is complementary to step flashing and is installed over it to direct water away from vertical walls and other roof protrusions.
Kickout Flashing
Kickout flashing diverts water into the gutters and prevents it from running down the sides of the home, which can lead to siding damage. To achieve this, kickout flashing is installed where the roof’s edge meets the sidewall.
Materials Used in Roof Flashing
Roof flashing can be made from different materials. From aluminum to copper, let’s explore their pros and cons.
Aluminum
- Pros: Lightweight, resistant to corrosion, easy installation
- Cons: Requires special coating under certain conditions
Galvanized Steel
- Pros: Excellent protection against rust, durability, corrosion resistance, cost-effective
- Cons: A more difficult installation process, not as accessible as other materials
Copper
- Pros: Long lifespan, durability, highly resistant to corrosion, aesthetically pleasing
- Cons: More expensive, discoloration could steer some homeowners away
Rubber
- Pros: Flexibility, tight sealing properties against irregular surfaces
- Cons: Less appealing, doesn’t do well in heat, reacts negatively to certain chemicals
Zinc
- Pros: Affordable, eco-friendly, durability, corrosion resistance
- Cons: Cost, more maintenance, low melting point
Lead
- Pros: Flexibility, durability, can be molded into different shapes
- Cons: Potential health concerns, not good for the environment, cost, heaviness
PVC/Plastics
- Pros: Flexibility, corrosion resistance, easy installation, cost-effective
- Cons: Doesn’t respond well to UV exposure, shorter lifespan, warping
Selecting the right type of flashing material for your roof depends on a multitude of factors such as specific needs and budget.
How Roof Flashing is Installed
Roof flashing is an integral part of your roof. While steps may change depending on the complexity of the installation, our flashing installation process follows these steps:
- Preparation of the area by inspecting for damages and cleaning.
- Cutting of flashing materials to fit the specific application.
- Placement and adjustment of flashing.
- Use of nails and screws to firmly secure flashing.
- Apply sealants to cover nail heads and gaps.
- Final tests and inspection.
During the installation process, proper sealing and overlapping are among some of the most important. With proper sealing, the opportunity for water to seep into the roof is greatly reduced. Additionally, overlapping shingles over the flashing allow for rainwater to effectively run off over the roof’s flashing.
Common Roof Flashing Issues & How to Prevent Them
The most common roof flashing issues homeowners encounter are leaks, corrosion, and poor installation practices. To extend the longevity of your roof’s flashing, make sure to:
- Schedule regular inspections
- Keep them clean
- Leave the installation to proven professionals
- Respond to the need for repairs as they arise
Roof Flashing Maintenance & Repair
It can be difficult to understand when your roof’s flashing needs to be repaired. If you notice these signs, reach out to Adam Vaillancourt Roofing & Gutters for repairs and maintenance.
- Roof leaks
- Water damage
- Rust or corrosion
- Warped or loose flashing
- Holes in the flashing
- Missing nails
- The sealant is cracked, dried out, or missing
Get Your Free Roof Inspection From Our Experts
Roof flashing is one of the many important puzzle pieces of a roof system. If you believe your roof’s flashing needs attention or you’ve noticed warning signs that could indicate an issue, turn to Adam Vaillancourt Roofing & Gutters for a thorough roof inspection.


